Views: 240 Author: Bella Publish Time: 2023-08-28 Origin: Site


Weaving baskets is a craft that dates back hundreds of years and has remained a constant part of our lives ever since it was first practiced. Throughout history, baskets of varying sizes and forms have been utilised for purposes that are more useful. Woven baskets are now a frequent addition to the decor of many homes, despite the fact that their functionality has not been compromised in any way.
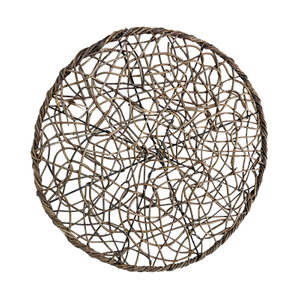
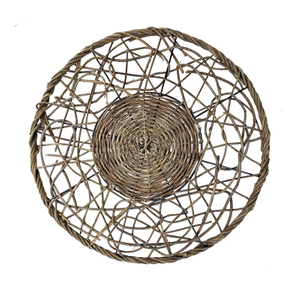
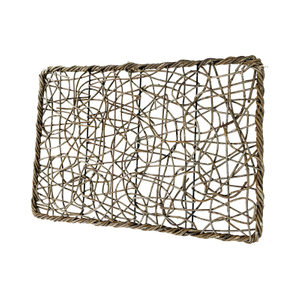
We are overjoyed to learn that these one-of-a-kind, hand-woven baskets crafted by hand are finding a place of honour and admiration in households all across the world. We adore putting a huge woven bowl in the centre of a table as a centrepiece or using one in the kitchen as a decorative fruit bowl, but our absolute favourite way to exhibit these baskets is to hang them on the wall to create a stunning and one-of-a-kind wall display. We'd want to show you how to make basket wall art in your own house since the colours, depth, and textures that they offer to the wall make them second to none as a decorative element.
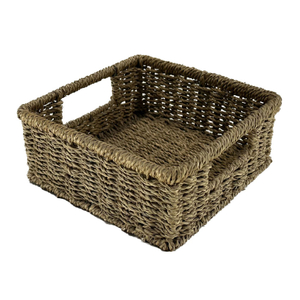
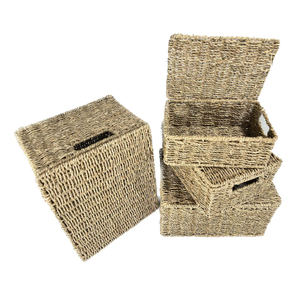
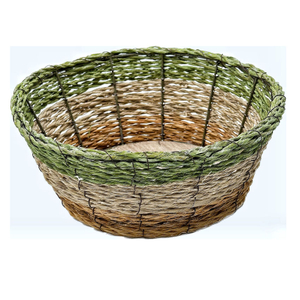
The possibilities are endless: big, tiny, medium, pink, black, or green sizes! Wall décor in vibrant colours is one of our favourites, but we also appreciate accents that are more neutral. Mixing sizes, colours, and patterns is one of our favourite things to do, but there really is no wrong way to do it. You have the option of hanging one basket or twenty; we chose to use four large baskets measuring 12 inches and five mini baskets measuring 8 inches.
You'll find a few of our most cherished baskets listed below. Not only are they exquisitely crafted and stunningly beautiful, but they also come equipped with a loop that is sewn into the back of each basket so that they may be hung up with ease.
If your baskets do not have these loops, you can create your own loop by weaving twine through the back of the basket using a sewing needle that has a large eye like this one.
Why make so many holes in your walls when you can simply use these handy little fellas, which you can also adjust? This clear command strip pack has little hooks that function admirably as supports for both the smaller and larger baskets that we used.
The process of planning out where you will hang the baskets will be unique for each wall because baskets come in a variety of sizes, and the number of baskets you will use also varies. After planning where we wanted the smaller baskets to go, we eyeballed where we wanted the larger baskets to go (you will want the centre of the display to be approximately at eye level), then we attached the hooks and planned the smaller ones accordingly. Because we like our products to have an asymmetrical appearance and our circular baskets are always level, we did not use any tools for measuring. Additionally, the relocation is made easy by the adjustable command strips.
It's time to get those baskets hung up! We gave ours a couple different configurations until we found one that worked perfectly for us. The fact that the baskets may be replaced with another of a different colour or pattern quickly and simply without causing any damage to the wall makes this piece of wall art one of the best available options.