Views: 222 Author: Tomorrow Publish Time: 2024-12-25 Origin: Site


Content Menu
● Step 1: Preparing Your Materials
● Step 3: Building Up the Sides
● Additional Techniques in Basket Weaving
● Common Mistakes in Basket Weaving
● FAQs
>> 1. What materials are best for making wicker baskets?
>> 2. How long does it take to make a wicker basket?
>> 3. Can I use dried willow for basket weaving?
>> 4. What are some common mistakes in basket weaving?
>> 5. Is there a specific technique for making decorative baskets?
Creating a wicker basket is a rewarding and creative endeavor that combines craftsmanship with artistic expression. This guide will walk you through the process of making a wicker basket, from gathering materials to finishing touches. Whether you are a beginner or have some experience, this comprehensive tutorial will help you craft a beautiful and functional piece.
Before starting your basket-making journey, gather the following materials:
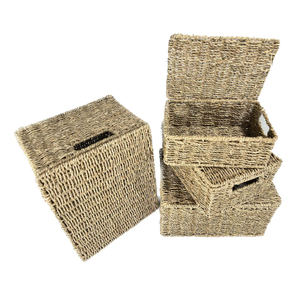
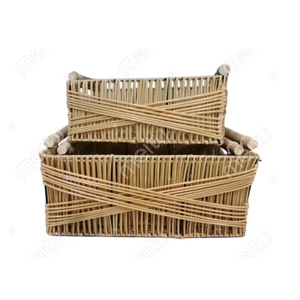
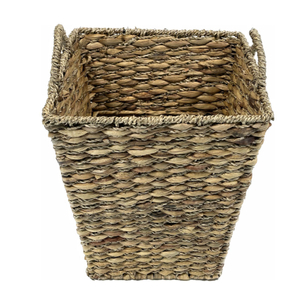
- Willow or Wicker: The primary material for weaving.
- Scissors or a Knife: For cutting the willow to the desired lengths.
- Twine or String: To tie the base of the basket.
- Weights: Small weights to hold the basket in place while you work.
- A Bowl of Water: To soak the willow for flexibility.
- A Flat Surface: A table or workbench to create your basket.
1. Harvesting Willow:
- Select fresh willow shoots that are about 12 to 15 inches long. Look for those with a diameter similar to a pencil for uniformity.
- Soak the willow in water for at least an hour to make it pliable.
2. Cutting and Sorting:
- Cut your willow into various lengths: longer pieces for the spokes and shorter ones for weaving.
- Sort them into thick and thin categories; thicker pieces will be used for the base, while thinner ones will be used for weaving.
1. Setting Up Spokes:
- Take six thick pieces of willow and arrange them in a star shape, with each piece radiating out from a central point.
- Secure them together using twine or string at the center.
2. Weaving the Base:
- Use two thinner willow shoots as weavers. Start by threading one weaver over one spoke and under the next, alternating as you go around.
- Continue this pattern until you have completed several rounds, ensuring that each weave is tight to maintain structure.
3. Adding New Weavers:
- As you run out of weavers, splice in new pieces by placing them alongside the old ones, ensuring they overlap slightly to secure them.
1. Pricking Up:
- Once your base is complete, it's time to “prick up” the spokes. Use a knife to gently lift each spoke upright while maintaining its connection to the base.
2. Weaving the Sides:
- With your spokes standing upright, begin weaving around them with two new weavers, similar to how you wove the base.
- Keep your tension even as you work your way up, adding more weavers as needed.
3. Expanding Your Basket:
- If you want to create a wider basket, consider using additional spokes as you grow wider. This technique helps maintain an even tension and keeps your stitches looking beautiful and tight[1][2].
- To add new spokes effectively, cut them to match the length of your existing spokes and insert them into gaps between existing spokes as you continue weaving[2].
1. Trimming Excess:
- Once you reach your desired height, trim any excess spokes sticking out at the top of your basket.
2. Creating a Rim:
- Bend each spoke over and tuck it beneath another spoke to create a neat rim around your basket.
- Secure any loose ends with twine or by tucking them into the weave.
3. Final Adjustments:
- Inspect your basket for any loose areas and tighten as necessary. You can also add decorative elements like ribbons or paint if desired.

To enhance your understanding of these steps, consider watching instructional videos on platforms like YouTube that demonstrate each phase visually. Here are some recommended videos:
While this guide focuses on basic wicker basket making, there are various techniques that can enhance your skills:
The twining technique involves wrapping two strands around each other as you weave. This method creates a more textured appearance and can be used in conjunction with traditional wicker weaving for added strength and aesthetic appeal[3].
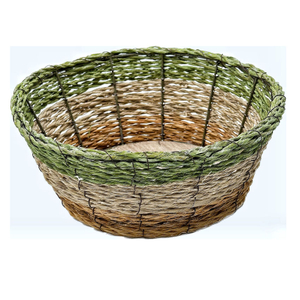
Coiling is another popular method where materials are wrapped around each other in circular layers. This technique is particularly useful for creating bowls or baskets with rounded shapes[3].
Plaiting involves interlacing strips of material in an over-and-under pattern, which can create intricate designs while adding durability[3].
As with any craft, beginners may encounter challenges when making wicker baskets. Here are some common mistakes:
- Uneven Tension: Maintaining even tension throughout your weaving is crucial for structural integrity. If one area is too tight or too loose, it can affect the overall shape of your basket.
- Improperly Secured New Weavers: When adding new weavers, ensure they are securely integrated into your existing weave to prevent gaps or weak spots.
- Neglecting Material Preparation: Always soak your materials adequately before use; dry materials can break easily and result in frustration during weaving.
Making a wicker basket is not only an enjoyable craft but also an opportunity to create something beautiful and functional. With patience and practice, anyone can learn this ancient art form. Whether you're crafting for yourself or as gifts, each basket tells a story of creativity and skill.
By incorporating various techniques such as twining, coiling, and plaiting into your practice, you can expand your repertoire and create unique designs that reflect your personal style.

Answer: Willow is commonly used due to its flexibility and strength. Other materials include rattan, reeds, and even fabric strips for softer baskets.
Answer: The time varies based on experience and complexity but generally ranges from 2 to 5 hours for beginners.
Answer: Dried willow is less flexible than fresh willow; soaking it in water can help restore some pliability but may not yield optimal results compared to using fresh shoots.
Answer: Common mistakes include uneven tension in weaving, not securing new weavers properly, and neglecting to soak materials adequately before use.
Answer: Yes! Techniques such as coiling or plaiting can create intricate designs suitable for decorative baskets. Experimenting with colors and patterns can also enhance aesthetics.
[1] https://www.matttommey.com/basket-weaving-techniques/basket-weaving-techniques-expanding-your-basket-when-twining
[2] https://www.matttommey.com/basket-weaving-techniques
[3] https://eyahomeliving.co.za/blogs/news/what-are-the-4-techniques-of-basket-weaving-a-guide-from-eya-home-living-south-africa
[4] https://www.jchoatebasketry.com/blogs/news/whispers-from-appalachia-rib-constructed-basketry
[5] https://www.mesaverde.org/kit-hopi-wicker-basket
[6] https://link.aps.org/doi/10.1103/Physics.14.s112