Views: 222 Author: Tomorrow Publish Time: 2025-02-20 Origin: Site


Content Menu
● Understanding Wicker Baskets
● FAQ
>> 1. What materials are best for making wicker basket handles?
>> 2. How do I ensure my handle is secure?
>> 3. Can I decorate my basket after attaching the handle?
>> 4. What if my handle feels weak?
>> 5. Are there any safety tips when working with sharp tools?
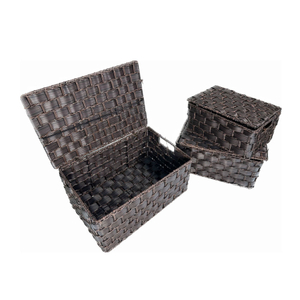
Wicker baskets are timeless pieces that combine functionality with aesthetic appeal. Whether used for storage, decoration, or as a charming gift container, a wicker basket becomes even more practical and attractive with a well-attached handle. This comprehensive guide will walk you through various methods to attach handles to wicker baskets, complete with images and video links for better understanding.
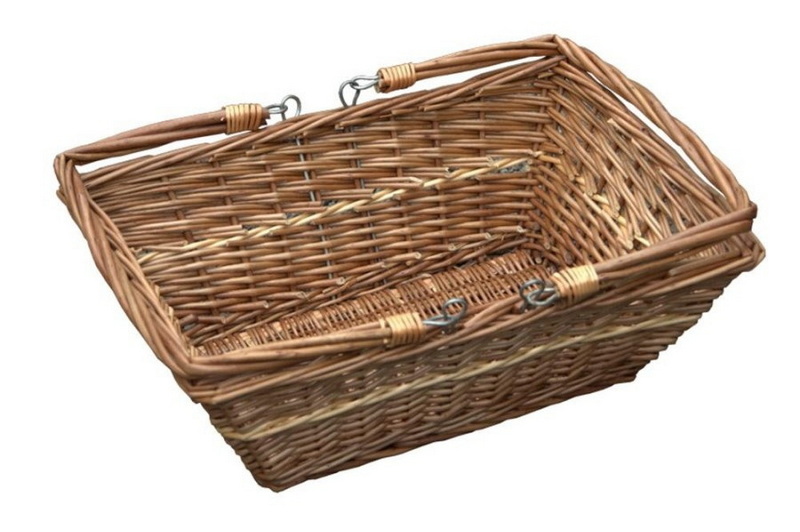
Wicker baskets are crafted from woven plant materials, primarily rattan, willow, or reed. These materials are cherished for their flexibility, durability, and natural beauty, making them ideal for creating baskets of various shapes and sizes. The handle is a critical component, allowing for easy carrying and adding to the overall design and usability of the basket.
Before you start, gather the following materials:
- Wicker reeds or rattan strips: These will form the core of your handle. Select reeds that match the thickness and color of your basket for a seamless look.
- Scissors or Utility Knife: For precise cutting of the reeds to the desired length. A sharp utility knife can be particularly useful for thicker reeds.
- Strong Adhesive: Choose a glue specifically designed for natural materials. Epoxy or wood glue works well, providing a strong and lasting bond.
- Clamps: To hold the handle securely in place while the glue dries. Different sizes and types of clamps can be useful depending on the handle style.
- Sandpaper: To smooth any rough edges on the reeds before assembly.
- Measuring Tape: To ensure accurate measurements for the handle size and placement.
- Pencil: For marking where to cut or attach the handle.
- Protective Gloves: To protect your hands from glue and sharp edges.
- Decorative elements (optional): Such as paint, fabric, leather, or beads to personalize your basket and handle.
There are several techniques for attaching handles to wicker baskets, each offering its unique aesthetic and level of durability. Below are some popular methods, explained in detail:
The basic loop handle is the simplest and most common method, suitable for smaller baskets or those with lighter loads.
Step-by-Step Instructions:
1. Cut two lengths of wicker reed: Each should be about 24 inches long, depending on the size of your basket and the desired height of the handle. Measure carefully to ensure both pieces are identical.
2. Soak the reeds in water: This will make them more pliable and less likely to crack when bent. Soak for about 15-20 minutes.
3. Create loops: Gently bend each piece into a loop, ensuring the loop is symmetrical and the ends meet cleanly. Secure the ends with glue, overlapping them slightly for a stronger bond.
4. Reinforce the joint: Use a small piece of reed to wrap around the glued joint, further securing the loop. Glue this wrapping in place.
5. Attach to the basket: Position the loops on opposite sides of the basket, ensuring they are evenly spaced and aligned. Mark the attachment points with a pencil.
6. Apply glue: Apply a generous amount of glue to the ends of the loops and the corresponding points on the basket.
7. Clamp in place: Use clamps to hold the loops securely against the basket until the glue is completely dry. This may take several hours, depending on the glue used.
This method provides a sturdy and decorative handle, ideal for medium-sized baskets that require a bit more support.
Step-by-Step Instructions:
1. Prepare your reeds: Cut two long pieces of reed (about 36 inches each), ensuring they are of equal length and thickness. Soaking them in water is crucial for flexibility.
2. Find the center: Mark the center of both reeds.
3. Twist the reeds together: Starting from the center, twist the reeds tightly together, working outwards towards both ends for about 12 inches on each side. Maintain consistent pressure to create a uniform twist.
4. Secure the ends: Wrap the ends of the twisted section with a small piece of reed and glue in place to prevent unraveling.
5. Attach to the basket: Insert each end into the sides of the basket, ensuring the handle is centered and level. The ends should be inserted into the weave of the basket for added stability.
6. Glue and clamp: Apply glue to the ends of the reeds and the corresponding points on the basket. Use clamps to hold them in place until dry.
Using metal rings can give your basket a modern and elegant touch. This method is best suited for baskets that need to carry heavier items.
Step-by-Step Instructions:
1. Select metal rings: Choose rings that fit comfortably on your basket's sides and are sturdy enough to support the intended weight. Consider different materials like brass, steel, or even wooden rings.
2. Prepare the rings: If desired, wrap filler cord (such as leather or twine) around each ring for comfort and grip. Secure the ends of the cord with glue.
3. Attach to the basket: Determine the placement of the rings on either side of the basket. Use strong glue to attach the rings securely. For added strength, you can also use small screws or rivets, depending on the material of your basket.
4. Conceal attachments: Cover the attachment points with decorative elements like fabric or leather to create a clean and finished look.
A braided handle adds a decorative and sturdy element to your wicker basket.
Step-by-Step Instructions:
1. Cut three lengths of wicker: Each should be about 48 inches long to account for the braiding process.
2. Soak the reeds: Submerge the reeds in water for about 20 minutes to increase flexibility and prevent breakage.
3. Braid the reeds: Begin braiding the three reeds together tightly and evenly, ensuring the braid remains consistent in thickness and appearance.
4. Secure the ends: Once the braid reaches the desired length, secure the ends with glue and small pieces of reed wrapped around the ends.
5. Attach to the basket: Attach the ends of the braided handle to the sides of the basket using glue and clamps. Ensure the handle is centered and balanced.
For a more rustic and durable handle, consider using leather straps.
Step-by-Step Instructions:
1. Cut the leather straps: Cut two strips of leather to the desired length, depending on the basket size and handle height.
2. Prepare the ends: Punch holes at each end of the leather strips for attachment.
3. Attach to the basket: Use rivets or leather cord to attach the leather straps to the sides of the basket. Ensure the attachments are secure and evenly spaced.
4. Reinforce the attachment: For added strength, consider using metal washers on the inside of the basket to distribute the pressure.

For visual learners, here are some helpful video tutorials that demonstrate these techniques:
- Choose the right material: Ensure that your handle material matches the style and weight capacity of your basket. Consider the basket's purpose and aesthetic when selecting materials.
- Allow adequate drying time: After gluing, let your handle dry completely before using it. Rushing the drying process can weaken the bond and compromise the handle's strength.
- Experiment with designs: Don't hesitate to try different shapes and styles for your handles. Incorporate decorative elements like beads, paint, or fabric to personalize your basket.
- Consider Ergonomics: When designing your handle, consider how it will feel to carry the basket. A comfortable handle will make the basket much more enjoyable to use.
- Reinforce Weak Points: Pay close attention to the attachment points. These are the areas most likely to fail under stress. Reinforce them with extra glue, wrapping, or additional hardware.
Attaching a handle to a wicker basket is an excellent way to enhance its functionality and aesthetic appeal. Whether you choose a basic loop, twisted reed, metal ring, braided, or leather strap handle, each method offers unique advantages. With practice, careful preparation, and the right materials, you can create beautiful and practical baskets that will serve you well for years. Remember to prioritize safety, take your time, and enjoy the creative process.

The best materials include wicker reeds, rattan strips, leather straps, or even metal rings depending on your desired style and strength. Consider the basket's intended use and overall aesthetic when making your selection.
Use a strong adhesive specifically designed for wicker materials and allow ample drying time before using the basket. Reinforce the attachment points with extra glue or wrapping for added security.
Yes! You can paint or add fabric accents after securing the handle to personalize your basket further. Consider coordinating the handle decoration with the overall design of the basket.
If your handle feels weak, consider reinforcing it with additional layers of material or using thicker reeds. You can also add additional support by wrapping the attachment points with cord or wire.
Always cut away from your body when using scissors or knives, and wear protective gloves if necessary. Use a sharp utility knife for precise cuts, and always be mindful of your surroundings to avoid accidents.
1. https://basketweaving.com/shopsite_sc/store/html/basket-weaving-handle-techniques.html
2. https://www.youtube.com/watch?v=9MTepzU4P0E
3. https://blog.csdn.net/Angelina_Jolie/article/details/139147709
4. https://www.youtube.com/watch?v=cKxkBO9HQD4
5. https://www.youtube.com/watch?v=EP_Zsp3thZg
6. https://developers.google.com/search/docs/appearance/structured-data/product-snippet?hl=zh-cn
7. https://www.youtube.com/watch?v=XJzq24F0nwM
8. https://www.youtube.com/watch?v=GdkJa4E2Ors
9. https://developer.mozilla.org/zh-CN/docs/Web/HTML/Element/Heading_Elements
10. https://www.youtube.com/watch?v=2dVF-Q-YOhY