Views: 222 Author: Tomorrow Publish Time: 2025-02-13 Origin: Site


Content Menu
>> Applications of Rope Baskets
>> 4. Adding Handles (Optional)
● FAQ
>> 1. What type of rope is best for making a basket?
>> 2. Can I use fabric scraps in my rope basket project?
>> 3. How do I prevent my rope basket from warping?
>> 4. What is the best way to finish the top edge of the basket?
>> 5. How can I add handles to my rope basket?
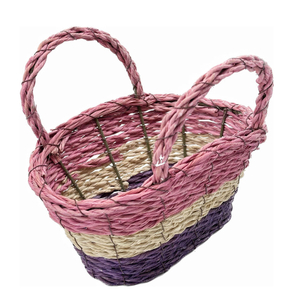
The art of basket weaving has been around for millennia, evolving from a purely functional craft into a diverse art form. Today, basket weaving is enjoyed by hobbyists and professional artisans alike. One exciting variation is the float rope basket, which combines the rustic charm of traditional weaving with the durability and unique texture of rope. This article will guide you through the process of creating your own float rope basket, offering step-by-step instructions, helpful tips, and creative ideas to personalize your project.
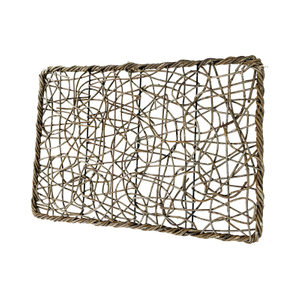
Rope offers several advantages over traditional basket-weaving materials like wicker or reed:
-Durability: Rope, especially synthetic varieties, can withstand significant wear and tear, making your basket long-lasting.
-Texture: The thickness and tactile nature of rope add a distinctive visual and tactile appeal to your basket.
-Versatility: Rope comes in various colors, thicknesses, and materials, allowing for endless design possibilities.
-Availability: Rope is readily available at most hardware and craft stores.
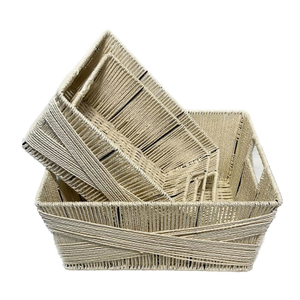
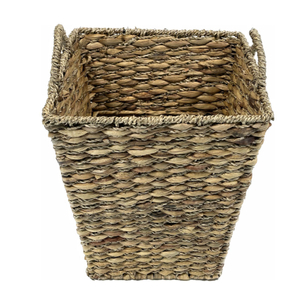
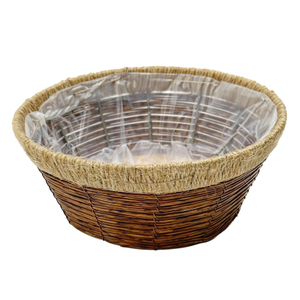
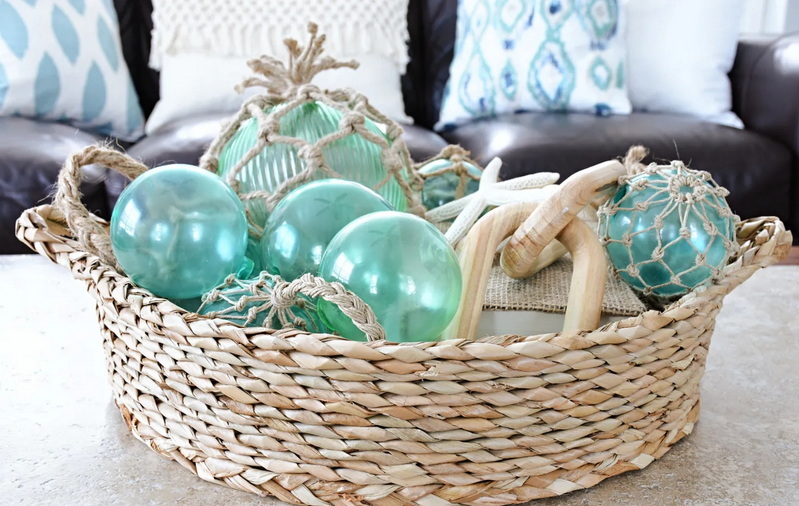
Float rope baskets are not only aesthetically pleasing but also highly functional. Here are some popular uses:
-Storage: Use them to store blankets, toys, magazines, or crafting supplies.
-Planters: Their sturdy construction makes them ideal for holding potted plants, both indoors and outdoors[3].
-Home Decor: Place them on shelves, tables, or floors to add a touch of rustic elegance to your living space.
-Gifts: A handmade rope basket makes a thoughtful and personalized gift for friends and family.
-Pet Beds: Larger baskets can be transformed into cozy beds for your furry friends.
Before you begin, gather all the necessary materials and tools. This will make the weaving process smoother and more enjoyable.
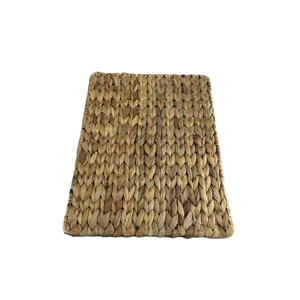
-Type of Rope: Cotton rope is a popular choice for its softness and natural look[5]. Synthetic ropes like nylon or polypropylene are more durable and water-resistant. Lobster rope is another great option, known for its robustness and vibrant colors[3].
-Thickness: The thickness of the rope will determine the overall size and texture of your basket. A diameter of 1/4 to 1/2 inch is generally suitable for beginners[2].
-Length: The amount of rope you need depends on the desired size of your basket. A small basket may require 50-80 feet of rope[2], while a larger one could need 100 feet or more. Always overestimate to avoid running out mid-project.
-Hot Glue Gun: A hot glue gun is essential for securing the rope coils together[5].
-Scissors: Use sharp scissors or a utility knife to cut the rope cleanly.
-Measuring Tape: A measuring tape will help you maintain consistent dimensions and ensure your basket is the desired size.
-Clips or Clamps: These can be used to hold the rope in place while the glue dries, providing extra stability.
-Leather Straps: Optional, for adding handles to your basket[5].
-Leather Punch: If adding leather straps, you'll need a leather punch to create holes for rivets[5].
-Rivets: To secure the leather straps to the basket[5].
-Hammer: For hammering in the rivets[5].
-Sewing Machine: An alternative to using a hot glue gun is to sew the rope together using a sewing machine[7].
-Needle and Thread: If you prefer hand-sewing, you'll need a needle and thread that matches the color of your rope[2].
-Embroidery Thread: Add decorative stitching to your basket for a personalized touch[2].
-Beads and Charms: Incorporate beads, charms, or other embellishments to enhance the basket's visual appeal.
-Fabric Scraps: Use fabric scraps to line the inside of the basket or create decorative accents.
-Paint or Dye: Customize the color of your rope by painting or dyeing it before weaving.

1. Coil the Rope: Start by coiling the end of the rope into a tight spiral. This will form the center of your basket's base.
2. Secure the Center: Apply a generous amount of hot glue to the end of the rope and press it firmly against the adjacent coil. Hold it in place until the glue cools and hardens. Alternatively, you can use a sewing machine with a zigzag stitch to secure the coil[1][2].
3. Continue Coiling: Continue coiling the rope outward, applying glue to each section as you go. Ensure that each coil is tightly pressed against the previous one to create a solid base. If sewing, maintain a consistent stitch pattern[1][2].
4. Maintain Flatness: As you work, make sure the base remains flat. If it starts to buckle or warp, gently flatten it with your hands or a flat object.
5. Desired Diameter: Continue coiling until the base reaches the desired diameter. For a small basket, a 6-inch diameter is a good starting point. For a larger basket, you can go up to 12 inches or more.
1. Transition to Walls: Once the base is complete, begin building the walls of the basket. To do this, angle the rope slightly upward as you coil it around the outer edge of the base[1][2].
2. Apply Glue or Stitch: Apply hot glue to the rope where it meets the base, ensuring a strong bond. If sewing, tilt the base up and use a zigzag stitch to attach the rope to the outer edges of the coil[2].
3. Maintain Angle: Maintain a consistent angle as you coil the rope, which will determine the slope of the basket's walls. A steeper angle will create a more upright basket, while a shallower angle will result in a wider, more bowl-shaped basket[1].
4. Consistent Coiling: Continue coiling the rope, applying glue or stitching as you go. Keep the coils tight and even to create a uniform wall.
5. Desired Height: Continue building the walls until the basket reaches the desired height. A height of 4-6 inches is typical for a small to medium-sized basket[1].
1. Final Coil: As you approach the top edge, make sure the final coil is neatly aligned with the rest of the basket[2].
2. Secure the End: Cut the rope at an angle to create a smooth transition. Apply a generous amount of hot glue to the end and press it firmly against the adjacent coil. Hold it in place until the glue hardens. If sewing, backstitch a little to prevent the stitching from unraveling[2].
3. Create a Loop: Create a loop by turning the end of the rope in. Make sure that it sits between the outermost layer of the basket and the remaining, un-sewn section of the tail[2].
4. Secure the Loop: Slowly stitch the last of the tail onto the basket. Sew the raw end of the rope both to the top edge of the basket as well as the start of the loop. Make sure to backstitch a little, so the stitching doesn't unravel over time[2].
1. Prepare Leather Straps: Cut two pieces of leather strap to the desired length. A length of 10 inches is suitable for most baskets[5].
2. Punch Holes: Use a leather punch to create holes at each end of the straps[5].
3. Attach Straps: Position the straps on opposite sides of the basket rim. Insert rivets through the holes and secure them with a hammer[5].
4. Reinforce: Add extra hot glue where the rivet went through the cording for additional security[5].
-Use a Guide: To maintain a consistent angle when building the walls, use a guide such as a small box or book. Place the guide inside the basket and rest the rope against it as you coil.
-Apply Glue Sparingly: While hot glue is essential, using too much can create a messy finish. Apply a thin, even layer to ensure a clean look.
-Let Glue Cool Completely: Before moving on to the next coil, allow the glue to cool and harden completely. This will prevent the basket from losing its shape.
-Vary the Stitch: Experiment with different stitch patterns to add visual interest to your basket. A zigzag stitch is commonly used, but you can also try a straight stitch or decorative embroidery stitches[1][2].
-Use Water-Soluble Stabilizer: When using a sewing machine, water-soluble stabilizer is great for coil baskets as it can be easily removed[2].
-Two-Tone Basket: Use two different colors of rope to create a visually striking basket. Alternate the colors with each coil or create a pattern.
-Ombre Effect: Dye the rope in渐变 shades to create a beautiful ombre effect. Start with a light color at the base and gradually transition to a darker shade at the top.
-Embellished Basket: Add beads, charms, or fabric scraps to personalize your basket. Sew or glue them onto the rope as you coil.
-Striped Basket: Wrap sections of the rope with colorful yarn or thread to create stripes. This is a great way to use up leftover yarn scraps.
-Rope Basket with a Lid: Create a lid for your basket by weaving a separate flat circle. Attach a small knob or handle to the lid for easy opening.
-Embroidered Basket: Embroider a design onto water-soluble stabilizer, then attach the stabilizer to the rope coil using temporary spray adhesive. Stitch around the design, and once complete, remove the stabilizer[2].
-Inconsistent Tension: Maintaining consistent tension is crucial for creating a uniform basket. Avoid pulling the rope too tightly or leaving it too loose, as this can cause the basket to warp or lose its shape.
-Using the Wrong Glue: Not all glues are suitable for rope baskets. Hot glue is the most effective option, as it creates a strong, durable bond. Avoid using craft glues or other adhesives that may not hold up over time.
-Rushing the Process: Creating a rope basket takes time and patience. Avoid rushing through the steps, as this can lead to mistakes and a less-than-perfect finish.
-Ignoring the Angle: The angle at which you coil the rope will determine the shape of your basket. Pay close attention to the angle and adjust it as needed to achieve the desired look.
-Uneven Base: An uneven base will cause the entire basket to be unstable. Take the time to create a flat, even base before building the walls.
Creating a float rope basket is a rewarding and enjoyable craft that allows you to express your creativity while producing a functional and beautiful object. Whether you choose to use it for storage, home decor, or as a unique gift, a handmade rope basket is sure to be a cherished item. By following the step-by-step instructions and helpful tips in this article, you can create your own stunning rope basket and add a touch of rustic elegance to your home.

Cotton rope is a popular choice for its softness and natural look. Synthetic ropes like nylon or polypropylene are more durable and water-resistant[5]. Lobster rope is another great option, known for its robustness and vibrant colors[3].
Yes, you can use fabric scraps to line the inside of the basket or create decorative accents. Sew or glue the fabric onto the rope as you coil.
Maintaining consistent tension is crucial for creating a uniform basket. Avoid pulling the rope too tightly or leaving it too loose, as this can cause the basket to warp or lose its shape. Also, ensure that the base is flat and even before building the walls.
Cut the rope at an angle to create a smooth transition. Apply a generous amount of hot glue to the end and press it firmly against the adjacent coil. Hold it in place until the glue hardens. If sewing, backstitch a little to prevent the stitching from unraveling[2].
Cut two pieces of leather strap to the desired length. Use a leather punch to create holes at each end of the straps. Position the straps on opposite sides of the basket rim. Insert rivets through the holes and secure them with a hammer. Add extra hot glue where the rivet went through the cording for additional security[5].
[1] https://www.youtube.com/watch?v=FYVGgyAer7s
[2] https://emblibrary.com/learn/projects/embroidered-rope-basket-machine-embroidery
[3] https://thenewenglandtradingcompany.com/blogs/default-blog/25-ways-to-use-a-lobster-rope-basket
[4] https://www.hwbangshou.com/26942/
[5] https://www.aliceandlois.com/diy-no-sew-rope-coil-basket/
[6] https://flaxandtwine.com/collections/basketweaving
[7] https://www.itsalwaysautumn.com/make-a-rope-bowl-in-30-minutes.html
[8] https://iphysresearch.github.io/blog/post/writting/writting-in-the-sciences/unit3/
[9] https://www.youtube.com/watch?v=5aFzyS6KCJs
[10] https://www.honglingjin.co.uk/163752.html