Views: 222 Author: Tomorrow Publish Time: 2025-02-24 Origin: Site


Content Menu
● Cultural Significance of Basket Weaving
● Variations in Basket Weaving
● FAQ
>> 1. How long does it take to weave a shopping basket?
>> 2. What are the best materials for weaving a durable shopping basket?
>> 3. How do I maintain and clean my handwoven shopping basket?
>> 4. Can I add color to my basket during the weaving process?
>> 5. Is basket weaving suitable for children or beginners with no crafting experience?
Weaving a shopping basket is a rewarding and practical craft that allows you to create a functional and beautiful item with your own hands. This article will guide you through the process of weaving a shopping basket, providing detailed instructions, tips, and insights to help you create your own unique piece.
Before you begin weaving your shopping basket, gather the following materials and tools:
- Reed or rattan for the base and stakes
- Flat-oval reed for weaving
- Basket shears or sharp scissors
- Awl or straight-tipped packer
- Clamps
- Spray bottle with water
- Measuring tape
- Pencil
1. Start by creating the base of your basket. Cut several pieces of reed to form the base spokes.
2. Arrange the spokes in a crisscross pattern, with an odd number of spokes in each direction.
3. Secure the center point where the spokes intersect.
4. Begin weaving around the base spokes using thinner reed, alternating over and under each spoke.
5. Continue weaving until you reach the desired base size for your shopping basket.
1. Soak your stakes in water to make them pliable.
2. Insert stakes into the base, one on each side of the base spokes.
3. Bend the stakes upward to form the vertical structure of the basket.
4. Secure the stakes in place with a row of weaving around the base.
1. Begin weaving the sides of the basket using flat-oval reed[1].
2. Start with at least four stakes before the corner, anchoring the reed end with a clamp on the outside of a weaver[1].
3. Weave around the basket, folding the reed at each corner to create a nice angled corner[1].
4. Create crisp corners by folding and making a crease in the weaver at each turn[1].
5. Use clamps to hold the working weaver in place as you go[1].
6. When you return to the starting point, overlap the beginning and end of the weaver on four stakes, ending behind the fourth reed to hide it[1].
7. Continue building the basket's walls, packing down the reed as you go to ensure tight weaving[1].
1. Once you've reached the desired height for your basket, it's time to add the handle.
2. Select two pairs of stakes on opposite sides of the basket for the handle placement.
3. Bend these stakes upward and inward to form an arch.
4. Wrap the handle with reed to strengthen and beautify it.
5. Secure the handle by weaving it into the basket's rim.

1. Ensure all parts of the basket are damp before finishing the rim[1].
2. Cut the stakes behind the top weaver flush with the edge using basket shears[1].
3. Fold the front stakes over and tuck them into the walls of the inside of the basket[1].
4. Use your awl to tuck the stakes down behind the weavers against the stake[1].
5. Prepare the rim by using a flat-oval reed that is double the size of your last weaver[1].
6. Whittle down the end of the rim reed (scarfing) for a smooth transition[1].
7. Clamp the rim reed around the top edge of the basket[1].
8. Add a second rim reed inside the basket, offsetting the end from the first one[1].
9. Tuck seagrass into the space between the two rim pieces for a finished look[1].
Once you've completed the basic structure of your shopping basket, consider adding personal touches to make it unique:
- Experiment with different weaving patterns
- Incorporate colored reed for decorative accents
- Add a fabric lining for a polished interior
- Attach leather straps for a more durable handle
- Keep your materials damp while working to maintain flexibility[1].
- Practice consistent tension in your weaving for a uniform appearance.
- Take breaks to rest your hands and assess your progress.
- Don't be discouraged if your first attempt isn't perfect – basket weaving takes practice!
Basket weaving is not just a craft; it's a tradition with deep cultural roots. In many parts of the world, basket weaving is an integral part of community life and economic sustainability. For example, in Ghana, the Bolgatanga baskets, also known as "Bolga baskets," are a significant source of income for local artisans[2].
These baskets are woven from elephant grass and are known for their durability and vibrant colors. The process of making Bolga baskets involves multiple generations working together, showcasing the communal nature of weaving[2].
In today's world of mass-produced goods, handwoven baskets represent a sustainable alternative. By creating your own shopping basket, you're participating in a craft that:
- Uses natural, renewable materials
- Reduces reliance on plastic bags
- Supports traditional skills and knowledge
- Creates a unique, long-lasting product
While this guide focuses on a traditional reed basket, there are many other materials and techniques you can explore:
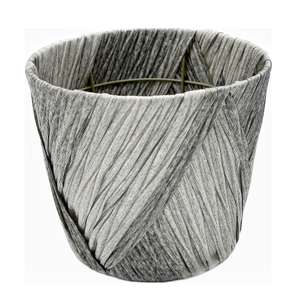
- Raffia or fabric strips for a softer basket[4]
- Upcycled materials like old t-shirts or plastic bags
- Coiled basketry techniques
- Twined basketry methods
Each material and technique offers its own challenges and aesthetic, allowing you to expand your skills and create a diverse range of baskets.
Weaving a shopping basket is a fulfilling project that combines functionality with artistry. By following the steps outlined in this guide, you can create a beautiful, durable basket that will serve you well for years to come. Remember that each basket you make will be unique, reflecting your personal style and improving with practice.
As you continue to explore the world of basket weaving, you'll discover endless possibilities for creativity and expression. Whether you're making baskets for personal use, as gifts, or even to sell, the skills you develop will connect you to a rich tradition of craftsmanship that spans cultures and generations.
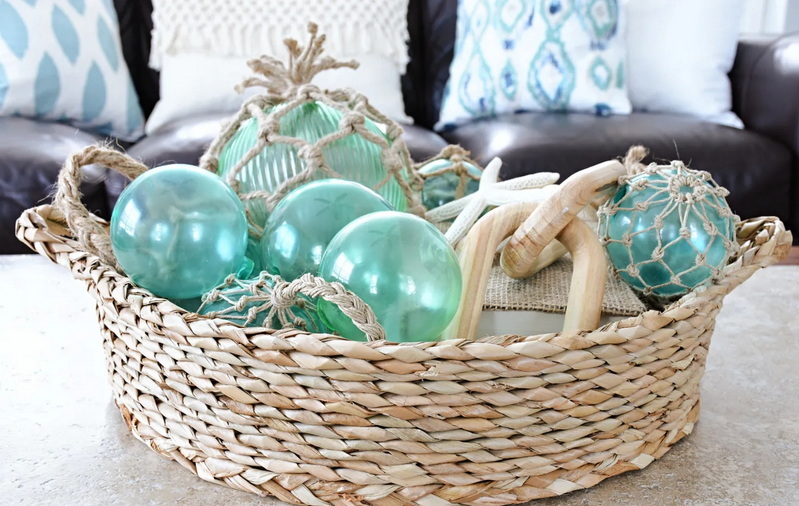
The time required to weave a shopping basket can vary depending on your skill level and the complexity of the design. For beginners, it might take anywhere from 8 to 12 hours to complete a basic basket. With practice, experienced weavers can create a basket in 4 to 6 hours.
Reed and rattan are popular choices for durable shopping baskets due to their strength and flexibility. For a more eco-friendly option, consider using locally sourced natural materials like willow or bamboo. Synthetic materials like plastic-coated paper cord can also be used for weather-resistant baskets.
To maintain your handwoven shopping basket, avoid exposing it to excessive moisture or direct sunlight for prolonged periods. Clean it by gently brushing off dirt with a soft brush. For deeper cleaning, use a damp cloth with mild soap, then air dry completely. Occasionally treating the basket with a light coat of boiled linseed oil can help preserve the material.
Yes, you can add color to your basket during the weaving process. You can use pre-dyed reed or dye the material yourself before weaving. Alternatively, you can paint or stain the finished basket, but be sure to use products that are compatible with the basket material and won't make it brittle.
Basket weaving can be adapted for children and beginners with no prior crafting experience. Start with simple designs using pliable materials like raffia or fabric strips. There are also beginner-friendly kits available that include pre-cut materials and detailed instructions. As skills develop, you can progress to more complex techniques and materials.
[1] https://www.textileindie.com/weaving-basket-guide/
[2] https://africanmarketbaskets.com/bolga-baskets-video-gallery/
[3] https://blog.csdn.net/Angelina_Jolie/article/details/139147709
[4] https://petalplum.com.au/blog/make-your-own-basket-how-to-weave-with-raffia-fabric
[5] https://www.istockphoto.com/photos/basket-weaving
[6] https://blog.csdn.net/u012549626/article/details/127719965
[7] https://www.youtube.com/watch?v=W012y82v9EQ
[8] https://stock.adobe.com/mt/search/video?k=%22basket+weaving%22