Views: 222 Author: Tomorrow Publish Time: 2025-02-25 Origin: Site


Content Menu
● Additional Techniques and Tips
>> Troubleshooting Common Issues
● FAQs
>> 1. What types of materials can I use for weaving?
>> 2. How long does it take to weave a basket?
>> 3. Can I wash my woven basket?
>> 4. What if my sticks break while weaving?
>> 5. Is basket weaving suitable for children?
Basket weaving is a timeless craft that combines creativity, skill, and patience. This guide will take you through the process of weaving a stick basket, from selecting materials to finishing touches. Whether you're a beginner or looking to refine your skills, this comprehensive article will help you create a beautiful and functional basket.
Before we begin, gather the following materials:
- Flexible sticks or twigs: Willow, reed, or any other pliable material.
- Scissors: For trimming excess materials.
- Basket base: This can be made from cardboard, wood, or any sturdy material.
- Water: To soak the sticks (if necessary) for flexibility.
- Clothespins or clips: To hold pieces in place while working.
1. Select Your Sticks: Choose sticks that are flexible enough to bend without breaking. Willow is a popular choice due to its pliability. Look for straight branches that are around 1/4 inch in diameter for the best results.
2. Soak the Sticks: If your sticks are dry, soak them in water for at least an hour. This will make them easier to work with and prevent them from snapping. For thicker sticks, soaking overnight is recommended.
3. Cut the Sticks: Trim your sticks to desired lengths. You will need both long pieces for the basket's sides and shorter ones for the base. Aim for a mix of lengths to create a more dynamic structure.
1. Lay Out the Base: Start by placing your base material (cardboard or wood) on a flat surface. The base should be sturdy enough to support the weight of the basket as you weave.
2. Arrange the Sticks: Position several long sticks vertically around the perimeter of your base. These will be the uprights of your basket. Space them evenly apart—about 2-3 inches between each stick works well.
3. Secure the Base: Use clothespins or clips to hold the vertical sticks in place while you weave. This step is crucial as it ensures that your basket maintains its shape during construction.
1. Start Weaving: Take one of your shorter sticks and weave it in and out of the vertical sticks, starting at one end and moving to the other. Make sure to alternate between over and under each vertical stick.
2. Continue Adding Sticks: As you reach the end of each stick, add another by sliding it into place and continuing the weaving pattern. Keep tension on your weaving to ensure it stays tight.
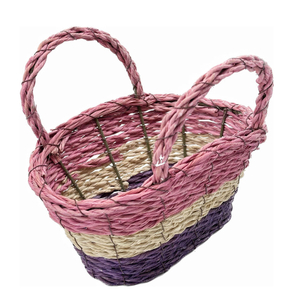
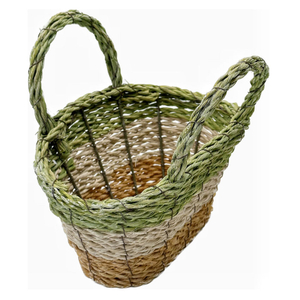
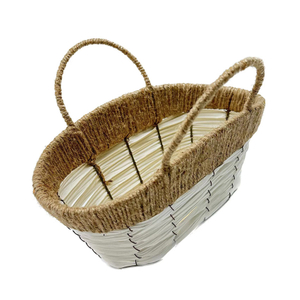
3. Create Patterns: Experiment with different weaving techniques such as over-under or twining to create unique designs. You can also incorporate color by using dyed reeds or different types of twigs.
1. Add More Rows: Continue weaving until you reach your desired height—typically between 6 to 12 inches for most baskets. Ensure that each row is tight enough to maintain structure but not so tight that it distorts the shape.
2. Adjusting Shape: If you want a wider basket, gently push out on the sides as you weave. Conversely, if you prefer a more tapered look, pull inward slightly with each row.
3. Incorporating Decorative Elements: Consider adding decorative elements like beads or colorful yarn intertwined with your weaving for added flair and personalization.
1. Trim Excess Sticks: Once you've reached the desired height, trim any excess length from the vertical sticks using scissors or pruning shears.
2. Secure Ends: Tuck in any loose ends of your weaving into the basket's interior for a clean finish. You can also use glue if necessary to secure particularly stubborn ends.
3. Let It Dry: Allow your basket to dry completely before using it—this usually takes about 24 hours depending on humidity levels in your environment.

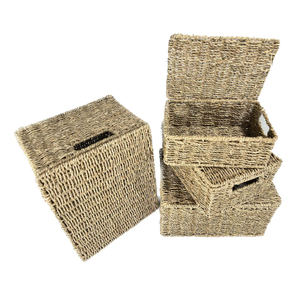
Basket weaving offers endless possibilities when it comes to styles and shapes:
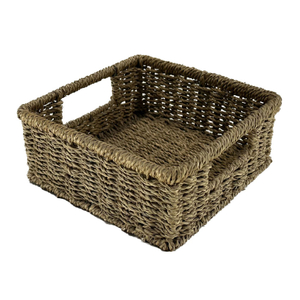
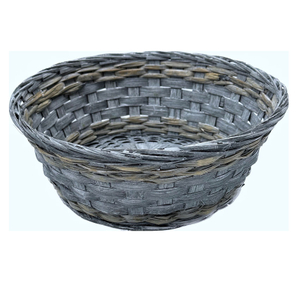
- Round Baskets: These are typically easier for beginners as they require simpler weaving patterns.
- Rectangular Baskets: For more advanced weavers, creating rectangular baskets can introduce new challenges like maintaining even tension across longer spans.
- Lidded Baskets: Adding a lid requires additional skills but can create stunning storage solutions.
- Sticks Breaking During Weaving: If this happens frequently, consider soaking them longer or choosing thinner branches that are more pliable.
- Uneven Weaving Tension: To avoid this issue, check your tension regularly as you weave and adjust accordingly by pulling tighter or loosening sections as needed.
For those looking to add color to their baskets, consider using natural dyes derived from plants:
- Onion Skins: Produce beautiful yellow hues.
- Avocado Pits: Create soft pink tones.
- Beet Juice: Yields vibrant reds.
Simply soak your sticks in these natural dyes before beginning your project!
To enhance your understanding of each step, refer to these resources:
Weaving a stick basket is not only a rewarding craft but also a way to connect with nature and tradition. With practice, you can create beautiful baskets for various uses—whether for decoration or practical storage solutions. The skills learned through this craft can also be applied to other forms of weaving and crafting, opening up new avenues for creativity.
As you become more comfortable with basic techniques, don't hesitate to experiment with different materials and styles! The world of basketry is vast and filled with opportunities for innovation and personal expression.

You can use flexible materials such as willow, reed, or even newspaper strips for weaving baskets.
The time required varies based on size and complexity but typically ranges from 2 to 4 hours for beginners.
Yes, but avoid soaking it in water; instead, wipe it down with a damp cloth.
If a stick breaks, simply replace it with another stick by sliding it into place and continuing your weave.
Yes! With supervision and appropriate materials, children can enjoy learning this craft safely.
[1] https://www.youtube.com/watch?v=F5fssON85g4
[2] https://www.istockphoto.com/videos/basket-weaving
[3] https://blog.csdn.net/Angelina_Jolie/article/details/139147709
[4] https://tinasragbag.wordpress.com/2015/05/23/square-newspaper-weave-basket/
[5] https://www.youtube.com/watch?v=6V-VpXAo-aM
[6] https://blog.csdn.net/u012549626/article/details/127719965
[7] https://www.cchobby.com/basket-weaving-around-a-wooden-base-and-flower-sticks
[8] https://www.shutterstock.com/video/search/basket-weaving
[9] https://www.bbc.com/learningenglish/chinese/features/q-and-a/ep-200318
[10] https://www.youtube.com/watch?v=l4tRWXoxccM
[11] https://www.youtube.com/watch?v=SpYqs_ry_1I