Views: 222 Author: Tomorrow Publish Time: 2025-01-27 Origin: Site


Content Menu
● Understanding Bread Proofing Baskets
>> Benefits of Using a Proofing Basket
● Materials Needed for Weaving a Proofing Basket
● Step-by-Step Guide to Weaving a Bread Proofing Basket
>> Step 1: Prepare Your Materials
● Caring for Your Proofing Basket
● Tips for Using Your Proofing Basket
● Common Mistakes When Using Proofing Baskets
● FAQ
>> 1. What type of flour should I use to dust my proofing basket?
>> 2. How do I know when my dough is ready to bake after proofing?
>> 3. Can I bake bread directly in my proofing basket?
>> 4. How do I clean my proofing basket?
>> 5. Can I use other materials besides rattan for my proofing basket?
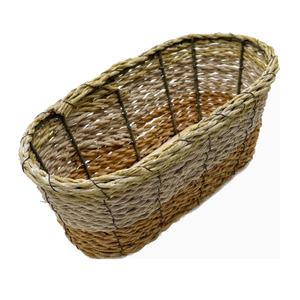
Bread proofing baskets, also known as bannetons or brotforms, are essential tools for bakers who want to achieve beautifully shaped loaves with a crisp crust. These baskets support the dough during its final rise, allowing it to maintain shape and develop a lovely texture. In this article, we will explore how to weave your own bread proofing basket, discuss the materials needed, and provide a step-by-step guide to creating one.
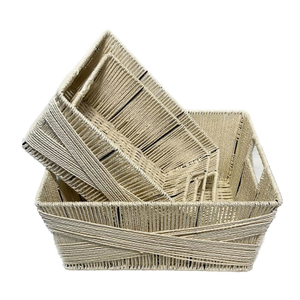
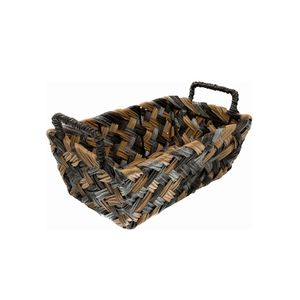
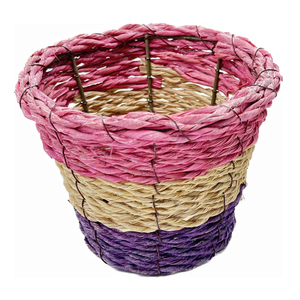
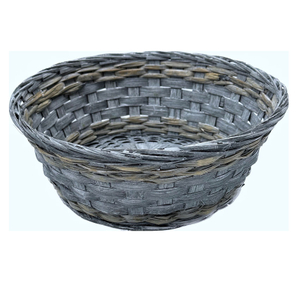
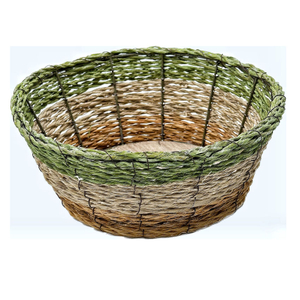
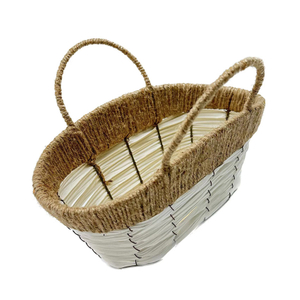
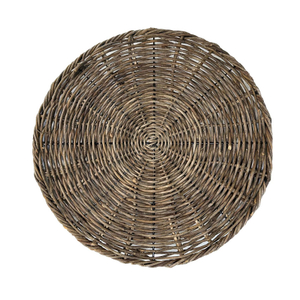
Proofing baskets come in various shapes and materials, including round and oval designs made from rattan, wicker, or wood pulp. They are designed to allow air circulation while keeping the dough from spreading out too much. The unique patterns left by the baskets on the crust of the bread are a hallmark of artisan baking.
- Shape Maintenance: Helps dough retain its shape during proofing.
- Moisture Control: Absorbs excess moisture, resulting in a better crust.
- Aesthetic Appeal: Creates beautiful patterns on the bread surface.
- Improved Texture: The structure of the basket allows for even fermentation and better gluten development.
- Versatility: Can be used for various types of bread, including sourdough, baguettes, and more.
To weave your own proofing basket, you will need the following materials:
- Natural Rattan or Wicker: This is the primary material for weaving. Choose flexible strips that can easily bend without breaking.
- Scissors: For cutting the rattan or wicker strips to size.
- Measuring Tape: To ensure your basket is the desired size.
- Cloth Liner (optional): A linen or cotton cloth can be used to line the inside of the basket for easier dough release.
- Wooden Board or Flat Surface: A sturdy surface to work on while weaving your basket.
Start by measuring and cutting your rattan or wicker strips. For a standard round basket, you'll need:
- 8-10 long strips for the base (approximately 24 inches each).
- 10-12 shorter strips for weaving the sides (approximately 18 inches each).
Make sure all strips are clean and free from any debris that could affect your dough.
1. Lay Out Base Strips: Arrange four long strips in a cross pattern on a flat surface. This will form the base of your basket.
2. Weave Additional Strips: Take another long strip and weave it over and under the base strips, alternating with each row until you achieve a circular base about 10 inches in diameter. Ensure that each strip is tightly woven to provide stability.
3. Secure Ends: Trim any excess length and tuck the ends under adjacent strips to secure them. You may also use a small dab of glue if necessary to keep everything in place.
1. Insert Side Strips: Stand several shorter strips upright around the edge of your base. These will form the sides of your basket.
2. Weave Sides: Begin weaving additional strips in and out of these upright strips, working your way up until you reach your desired height (about 4-5 inches). Make sure to keep your weave tight but not overly so; it should have some flexibility.
3. Finish Off: Once you reach the desired height, trim any excess length from side strips and tuck them into the weave. This will give your basket a clean finish.
1. Smooth Edges: Ensure all edges are smooth and there are no sharp points sticking out that could catch on dough.
2. Optional Liner: If using a cloth liner, cut it to size and place it inside your woven basket before use. This helps absorb moisture and makes for easier removal of dough after proofing.

To ensure longevity:
- Dust with Flour: Before each use, dust the interior with flour (rice flour is recommended) to prevent sticking.
- Clean Properly: After use, shake out excess flour and let it dry completely. Avoid washing with water as it can cause mold growth.
- Store Properly: Keep your basket in a dry place away from direct sunlight to prevent warping or damage to the material.
Using a proofing basket effectively can greatly enhance your baking results:
- Choose Your Dough Wisely: Different types of bread may require different proofing times; adjust accordingly based on your recipe.
- Monitor Temperature and Humidity: The environment can affect how quickly dough rises; keep an eye on these factors when using your proofing basket.
- Experiment with Shapes: Don't hesitate to try different shapes and sizes of baskets depending on what type of bread you are making!
Even experienced bakers can make mistakes when using proofing baskets. Here are some common pitfalls to avoid:
- Not Dusting Enough Flour: Failing to dust adequately can lead to dough sticking to the basket, making it difficult to remove without damaging its shape.
- Overproofing Dough: Allowing dough to rise too long in the basket can result in loss of structure; always keep an eye on fermentation times.
- Ignoring Cleaning Protocols: Not properly cleaning or drying out your basket can lead to mold growth or unpleasant odors that transfer to future loaves.
Creating your own bread proofing basket can be a rewarding experience that enhances your baking journey. With just some natural rattan or wicker and basic weaving skills, you can craft an effective tool that not only supports your dough but also adds an artisanal touch to your baking process. By understanding how to care for and use this handmade tool effectively, you'll elevate your bread-making skills significantly.

Using rice flour is highly recommended as it does not absorb moisture like wheat flour, reducing the chances of sticking.
The dough should have risen about 50-75% in size and spring back slightly when pressed gently.
No, proofing baskets are only meant for rising dough and should not be placed in an oven.
Simply shake out excess flour after use and let it dry completely; avoid using water unless absolutely necessary.
Yes, you can use wicker or even make a DIY version with fabric-lined bowls or colanders as alternatives.
[1] https://littlefurrow.com/diy-sourdough-banneton-baskets/
[2] https://www.virtuousbread.com/bread-and-baking/how-do-i-use-a-proofing-basket/
[3] https://idiesfarm.com/how-to-make-an-easy-diy-basket-liner-sew-tutorial/
[4] https://www.seriouseats.com/best-proofing-baskets-7557742
[5] https://www.weekendbakery.com/posts/baking-bread-the-use-of-proofing-baskets/
[6] https://www.kingarthurbaking.com/blog/2023/01/25/bannetons-brotforms-proofing-baskets
[7] https://www.instructables.com/2-Banneton-for-Better-Bread-Loaves/
[8] https://www.youtube.com/watch?v=PdQqaTN5Sc0
[9] https://www.pinterest.com/halynaan/bread-proofing-baskets/
[10] https://www.youtube.com/watch?v=Ts7jDco0qFo
[11] https://www.tastingtable.com/1201337/everything-you-need-to-know-about-proofing-baskets/
[12] https://breadtopia.com/faq/what-size-proofing-basket-should-i-use/
[13] https://inspiringkitchen.com/artisan-bread-making-brotform-baskets/
[14] https://www.kingarthurbaking.com/blog/2023/01/25/bannetons-brotforms-proofing-baskets
[15] https://www.thefreshloaf.com/node/37576/making-your-own-cane-proofing-baskets
[16] https://www.pantrymama.com/proofing-basket-alternative/
[17] https://www.youtube.com/watch?v=Cg8JfYsdeK8
[18] https://www.theperfectloaf.com/guides/proofing-bread-dough/
[19] https://www.youtube.com/watch?v=Ts7jDco0qFo
[20] https://bakerbettie.com/banneton-basket-prep-and-care/
[21] https://www.youtube.com/watch?v=dWecsBRHSTU
[22] https://www.reddit.com/r/Sourdough/comments/11131jy/bread_proofing_baskets_tips_and_tricks_please/
[23] https://www.youtube.com/watch?v=PdQqaTN5Sc0
[24] https://www.pinterest.com/pin/233835405622272949/
[25] https://www.etsy.com/listing/788137823/farm-rope-basket-handmade-in-the-usa
[26] https://www.youtube.com/watch?v=KGucD7rRGVA
[27] https://m.shein.com/goods-p-19776553.html?cat_id=3408&landing_page_id=0&landing_test_id=0&lookbook_ids=19776553&onelink=0%2Fgooglefeed_za&rep=dir&requestId=484874560476905497&ret=mus&skc=sh2307131164171743&skucode=I2dlovxpnt4a&spu_id=h23071311641&test=135&url_from=adpla-za-pla-sh2307131164171743-M
[28] https://www.youtube.com/watch?v=Zvur1Udjgrs
[29] https://www.facebook.com/sourdoughmate/videos/product-spotlight-our-cane-proofing-baskets-are-handcrafted-from-sustainable-bam/148068477386610/
[30] https://www.tiktok.com/discover/how-to-make-a-diy-proofing-basket
[31] https://littlefurrow.com/diy-sourdough-banneton-baskets/
[32] https://www.seriouseats.com/best-proofing-baskets-7557742
[33] https://www.thefreshloaf.com/node/44927/basic-proofing-basket-question
[34] https://www.gaerkorb.com/frequently-asked-questions-about-using-a-proofing-basket/
[35] https://myurbantreats.com/kitchen-tips-tricks/proofing-baskets-101-everything-you-need-to-know-for-better-bread/
[36] https://thebreadmaiden.com/2016/02/20/the-science-behind-using-a-couche/
[37] https://www.bakerykart.com/baking-world-blog/blog-detail/baking-tips/faqs-about-brotform-proofing-baskets-answering-your-queries
[38] https://www.bakerybits.co.uk/bakers-blog/your-guide-to-bannetons
[39] https://www.youtube.com/watch?v=11SS0XCB1j0
[40] https://www.reddit.com/r/Breadit/comments/11133sp/proofing_baskets_how_and_why/
[41] https://www.etsy.com/market/bread_proofing_basket