Views: 222 Author: Tomorrow Publish Time: 2025-01-11 Origin: Site


Content Menu
>> Step 1: Prepare Your Materials
>> Step 2: Create the Base of the Basket
>> Step 4: Building Up the Sides
● Tips for Successful Basket Weaving
● FAQs
>> 1. What type of yarn works best for basket weaving?
>> 2. How long does it take to make a yarn basket?
>> 3. Can I use different colors of yarn?
>> 4. What can I use my yarn basket for?
>> 5. Is this project suitable for children?
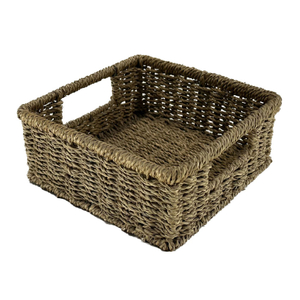
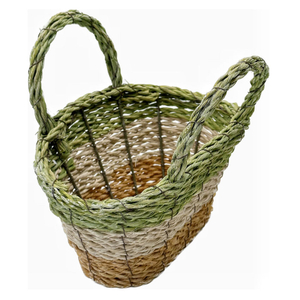
Creating a basket with yarn is a delightful and rewarding craft that can be enjoyed by crafters of all skill levels. This guide will walk you through the process step-by-step, providing tips, techniques, and inspiration to help you create your own beautiful yarn basket. Whether you're looking to organize your space or create a unique gift, this project is perfect for you.
Before you begin, gather the following materials:
- Yarn (any color of your choice)
- Cotton clothesline or sturdy cord
- Scissors
- Large plastic needle (for threading yarn)
- Optional: beads or decorative elements
Start by cutting a length of cotton clothesline to the desired size of your basket. A good starting point is about 3 to 4 feet for small baskets. Choose your yarn color and cut a piece approximately 2 arms' length long. This will ensure you have enough yarn to start wrapping without tangling.
1. Wrap the Yarn: Take one end of the clothesline and place it alongside the yarn. Begin wrapping the yarn around the clothesline tightly, starting at one end.
Step
2. Secure the Base: Once you have wrapped about an inch, bend the end of the clothesline slightly to secure it. This will form the base of your basket.
3. Start Coiling: Begin coiling the wrapped section into a circle, ensuring that each wrap is close together to avoid gaps.
1. Anchor Your Stitches: Using your large plastic needle, thread it with a length of yarn and insert it through the center of your coil from underneath.
2. Secure Each Wrap: After every few wraps (about 6-8), insert your needle through the previous wraps to anchor them in place. This will help maintain the shape of your basket.
1. Raise the Coil: Once your base reaches your desired size (typically around 4-6 inches in diameter), start raising the coil to build up the sides.
2. Continue Wrapping: Keep wrapping yarn around the clothesline, ensuring each new row overlaps slightly with the previous one.
3. Secure as You Go: Just like with the base, continue to anchor every few wraps with stitching.
1. Determine Height: Decide how tall you want your basket to be and continue wrapping until you reach that height.
2. Create a Neat Finish: As you finish, wrap less tightly at the top to create a finished edge. Secure any loose ends by tucking them into previous wraps or stitching them down.
Step
3. Optional Decorative Elements: Feel free to add beads or other decorative elements while weaving for added flair.

- Tension and Gauge: It's essential to maintain consistent tension while wrapping; too tight can distort your basket's shape, while too loose can lead to sagging.
- Color Changes: If you want to change colors mid-project, simply tie on a new piece of yarn and continue wrapping as before.
- Adding More Yarn: When you reach the end of your yarn strand, leave a few inches and lay down a new piece alongside it before continuing to wrap.
- Experiment with Size: Adjusting how tightly or loosely you wrap can change not only the size but also the shape of your basket.
Weaving a basket with yarn is not only a fun and creative project but also a practical way to organize your space or create personalized gifts for friends and family. With just a few materials and some time, you can produce beautiful baskets that showcase your style and creativity.

A thicker yarn such as worsted weight or bulky yarn works best as it provides sturdiness and structure to your basket.
The time varies based on size and complexity but typically ranges from 3 to 5 hours for a small basket.
Absolutely! Mixing colors can create beautiful patterns and designs in your basket.
Yarn baskets are versatile; they can be used for organizing craft supplies, storing toys, or even as decorative pieces in your home.
Yes! This project is great for kids under supervision as it helps develop fine motor skills and creativity.
[1] https://www.instructables.com/Weaving-a-Yarn-Basket/
[2] https://makesomethingmondays.com/craft-ideas/diy-yarn-basket/
[3] https://butfirstwecraft.com/2021/01/14/mini-basket-weaving/
[4] https://www.marymaxim.com/blogs/tutorials/how-to-weave-a-basket-with-yarn-a-step-by-step-guide
[5] https://www.youtube.com/watch?v=acNkoWNcLW8
[6] https://soulslikewheels.substack.com/p/exploring-basket-weaving-a-beginners
[7] https://mrs-cook.weebly.com/yarn-coil-baskets.html
[8] https://www.youtube.com/watch?v=XJAE5njZDgc
[9] https://www.pinterest.com/csmilz/basket-weaving-and-patterns/
[10] https://happyhourprojects.com/woven-yarn-basket/
[11] https://www.pinterest.com/pin/468444798743367117/
[12] https://www.facebook.com/Craftsy/videos/making-a-woven-yarn-basket-with-anne-weil-my-weekend-project/3426986107341667/
[13] https://www.matttommey.com/basket-weaving-techniques
[14] https://www.youtube.com/watch?v=0iv9hBMQQTw